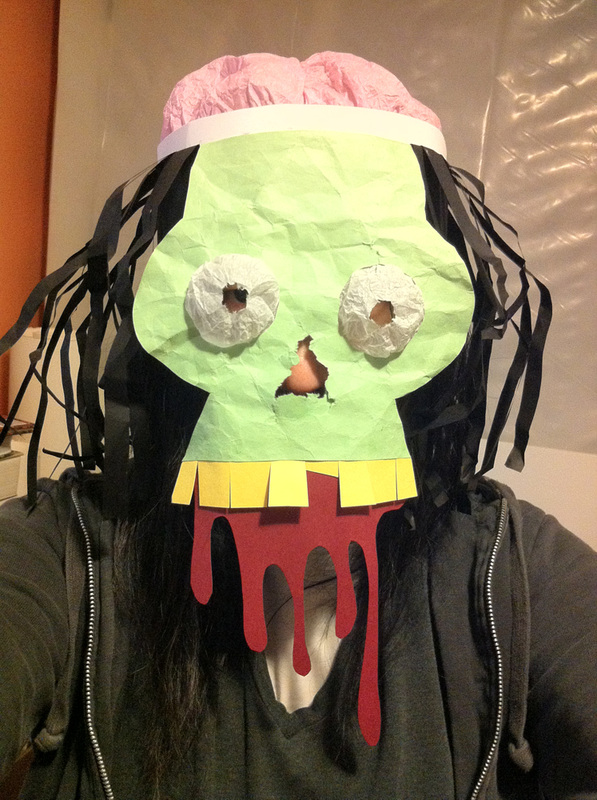
Halloween is just around the corner! Here's a fun project for you. Try this, and send me a picture. Show me how yours turned out. I will post it on my blog.
| paper_zombie_mask.pdf |
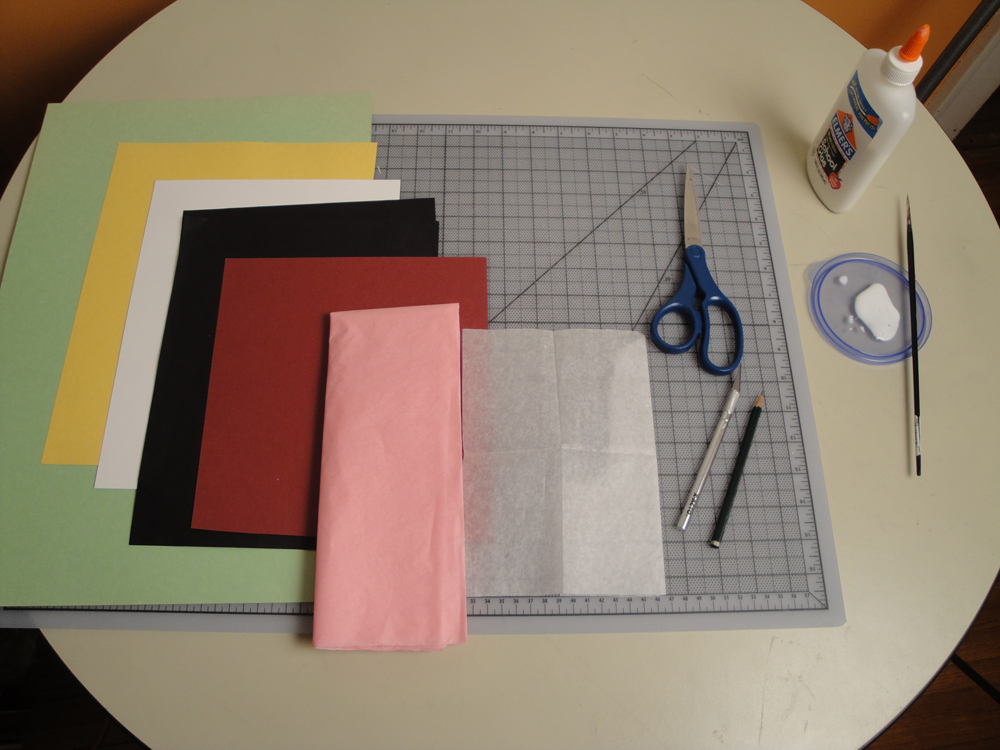
You will need
- 1 x white poster board or card stock - sturdier the better for the head band(skull)
- Few sheets of light weight card stock or tissue paper - color of your choice for the hair
- 1 x yucky green paper - light to medium weight, big enough to cover your entire face
- 1 x yellowish or brownish paper - for the teeth
- 1 x red paper - for blood
- 1 sheet of white tissue paper - for the eyeballs
- 1 package of 20 x 26in (50 x 66cm) pale pink gift wrapping tissue paper - for the brain, you need one sheet, but you'll probably need more than one to practice
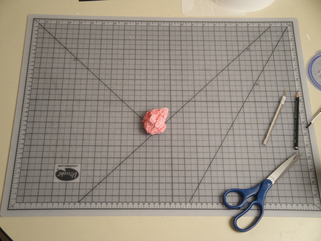
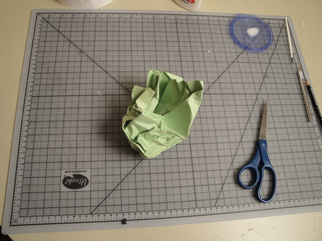
- Scissors
- X-Acto knife(optional - if you use one, you'd need a cutting mat or a sheet of thick scrap cardboard)
- White glue
- Small paint brush or scrap paper strip
- Pencil
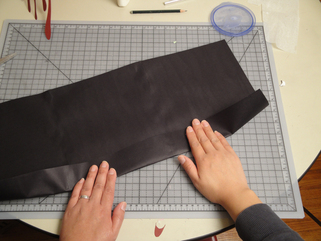
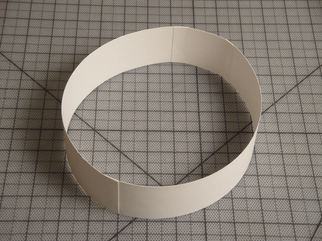 1. Cut 2 inch (5cm) wide strips out of white paper for the skull as many as you need, and glue the ends together to make one long strip that can wrap around your head. Loosely fit the head band on your head, and cut it 1/2 inch (1cm) longer than the fit for gluing. Glue the ends. | 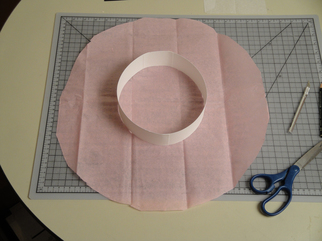 2. Cut a sheet of pink tissue paper roughly 3 times larger in diameter than the skull. |
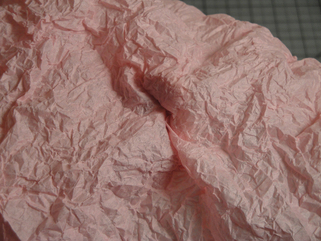
 3. Give it a good crumple. | 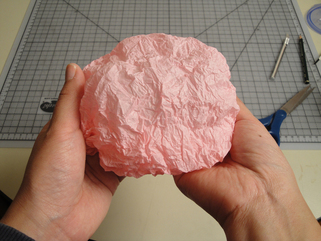 4. Gently open the crumple until it becomes as big as the skull, flattening the center of the paper while keep the edges crumpled as much as possible to form a blob. |
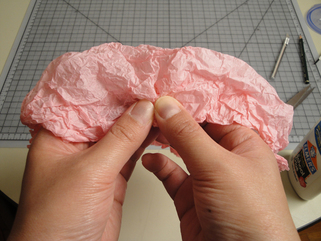 5. Put a small amount of glue on one edge. Gather the edge a little bit. Hold it until the glue sets. Carefully let go of the tissue paper, and dry off any wet glue on your fingers for your next gluing. Glue the opposite side of the blob, and then in between the glued areas till the shape is evenly secured. | 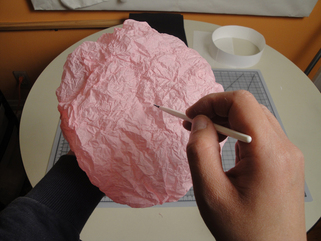 6. Pour some glue on a piece of scrap paper or plastic. Thinly apply a little bit of glue in the middle of the blob with a paint brush. |
 7. Pinch the glued area from underneath the blob. Carefully let go of the tissue paper, and dry off any wet glue on your fingers. Glue a few inches further next to the first glued spot. | 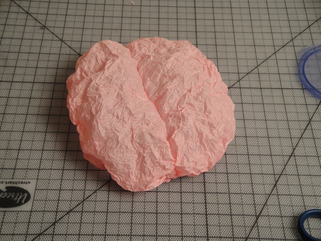 8. Make sure your fingers are dry in between gluing. After a few gluing, let it dry a little. Repeat gluing in between the glued spots until the blob is divided into two sections. |
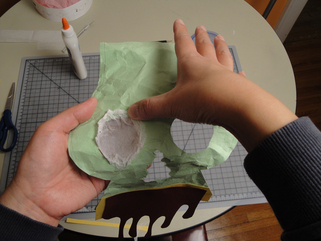
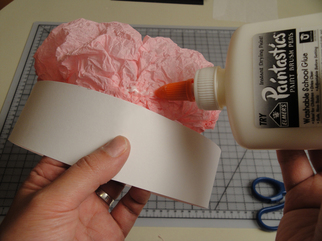 9. Apply glue on one edge of the brain, and attach it to inside of the skull. | 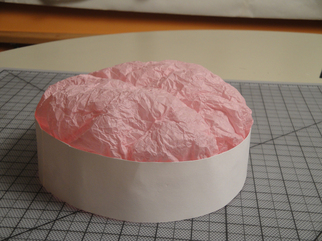 10. Repeat on the opposite side, and then in between the glued areas until the brain is evenly secured to the skull. |
 11. Crumple and flatten the green paper few times to get a weathered look. A little tear here and there is perfectly okay. Cover your face completely with the paper. Feel your eye sockets, nose, and mouth, and mark them on the paper with a pencil. | 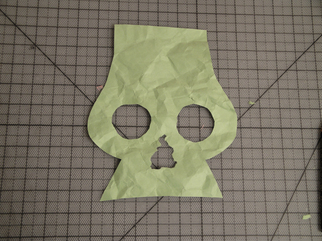 12. Cut out the eye sockets. Tear the nose part out. Cut the paper all across the mouth area. Cut the paper in the shape of a skull as shown in the photo. |
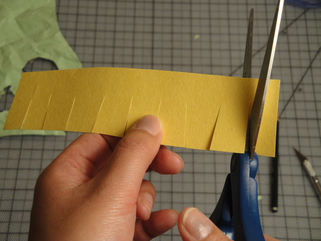 13. Cut about 1 1/2 inch (4cm) wide strip long enough to fit along the mouth. Give some short cuts along one edge for the teeth, leaving 1/2 inch (1cm) of the opposite edge uncut. | 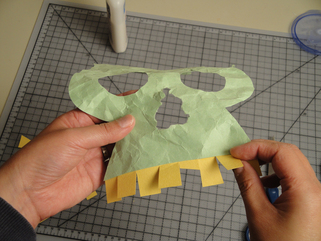 14. Glue the teeth to the back of the mouth, and then bend some teeth outwards. |
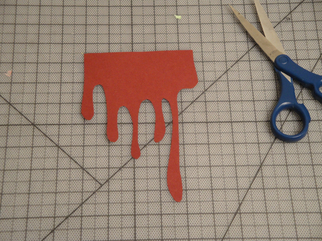 15. Cut a dripping blood shape out the red paper, and glue it to the back of the mouth. | 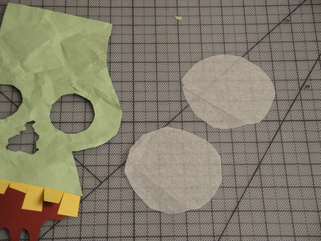 16. Cut 2 circles out of white tissue paper about twice larger in diameter than the eye sockets. |
 17. Crumple each circle and form a blob just like you did for the brain, and attach the eyeballs from the back of the face. Cut, or tear a little hole on each eyeball, so that you can see through. | 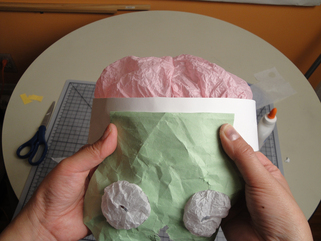 18. Put the brain on your head. Put the zombie face on your face, looking at a mirror. Fold the top of the forehead back, and position the face on the skull, showing about 1/2 inch (1cm) of the skull. Take the mask off. Put glue on the folded area, and attach it to the skull. |
 19. Connect the paper for the hair to be long enough to cover your head except for the face. Fold one of the longer side edges over, about 2 inches (5cm). Cut strips on the larger area all the way to the fold. | 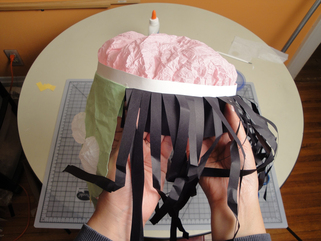 20. Crumple the hair if you'd like. Put glue on the uncut side of the fold, and attach it to the remaining skull. |
 RSS Feed
